Showing posts with label Creative Chemistry. Show all posts

Saturday, October 12, 2013

Creative Chemistry 102 Day 5

Sorry for the delay in my post! Yesterday was a crappy day all the way around, but it's a new day and I'm moving on!

I was not able to complete two of the tags for yesterdays lesson since my order from Simon Says Stamp has not arrived. So when I get it and the tags are complete, I will post them.

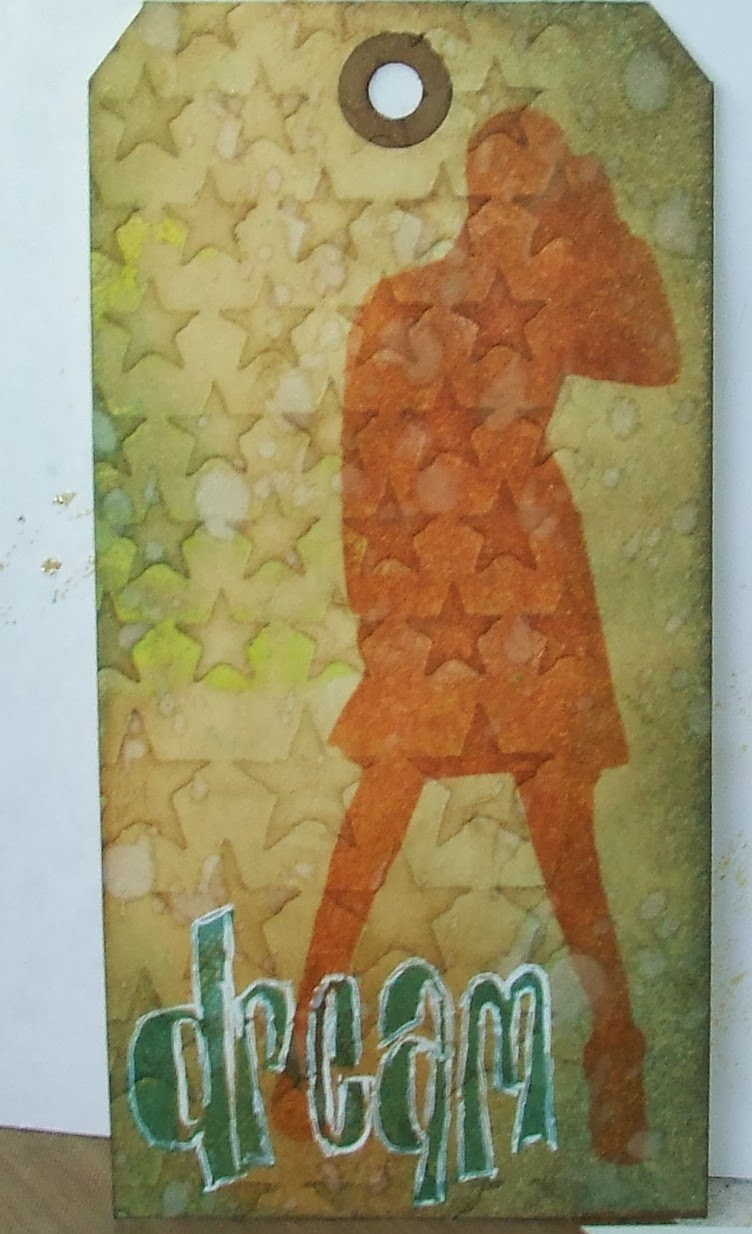
Our last lesson dealt with Embossing Effects. My completed tags are:Sticky Powder with Glitter, Shabby Chic, Rusting with Distress Powder and Tarnished Silver. I even managed to get a piece of Tim's new fabric line called "Ticking" on the Tarnished Silver tag.


Sticky Powder with Glitter

Shabby Chic

Rusting with Distress Powder

Tarnished Silver

Thursday, October 10, 2013

Creative Chemistry 102 Day 4

And it's Day 4 of CC 102 with Tim Holtz. Can I just say what a fantastic instructor he is. If you've hung out on my blog, or know me in real life, you know what a fan of his I am. And I think part of it is how he breaks everything down so that everyone, from the beginner to the advanced can have a remarkable experience. If you've never been able to take a class with him in person, this is a great second best. And you have the ability to stop and rewind as many times as you'd like, not to mention lifetime access to the class. You can still sign up here.

So today we focused on Alcohol Inks. Fun class. Learned some new things and had some already learned things refreshed in my head. One thing I will say about one of my tags. The Tinted Tinsel tag. Should you ever decide to do this technique, do not use the same color of alcohol ink on your tinsel as you do on your tag! It makes the colors in the tinsel not as intense as they should be. But I liked my tag and my tinsel and I wasn't gonna change it!!

On with the techniques. Faux Patina, Tinted Tinsel, Ombre', Monoprint and Faded Layers.

Faux Patina

Tinted Tinsel

Ombre'

Monoprint

Faded Layers

Wednesday, October 9, 2013

Creative Chemistry Day 3

Day three already. And it's not too late for you to sign up! Only requirement is that you be a graduate of Creative Chemistry 101. You can find out all the information you need here.

Today's lesson was about Distressing Differently.  

Smudge Stamping

Brayered Stains

Photo Tinting

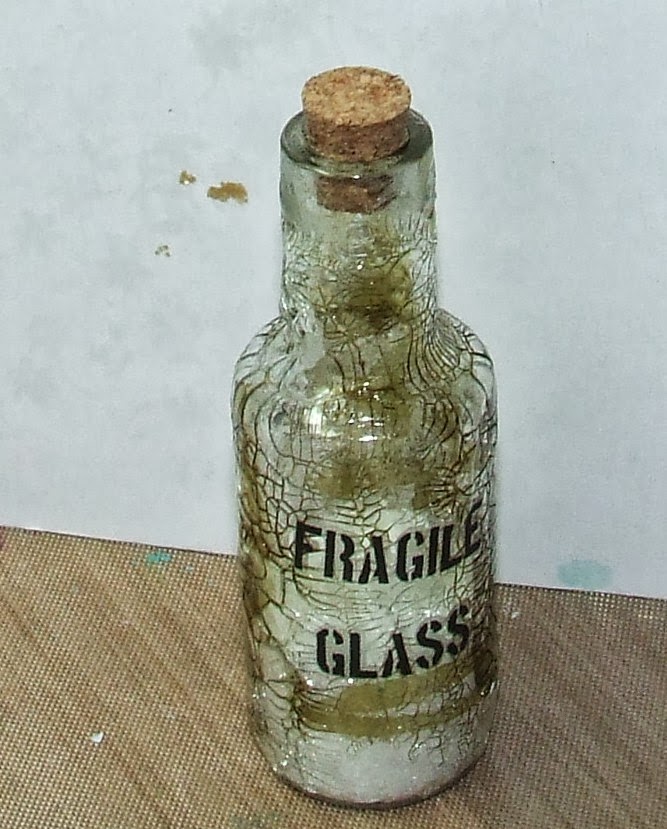
Faux Cracked Glass

Distress Glitter Rock Candy

Distress Glittering

Tuesday, October 8, 2013

Creative Chemistry 102 Day 2

It's Day 2 of Creative Chemistry 102 and today it's all about Tim's wonderful new Layering Stencils. I still don't have all 14...and now he's added another one as of today. The new one is called Shattered and it kinda looks like cobwebs, but can also be used as shattered glass.

I used some Dina Wakely stamps, some Dyan Reaveley stamps, some Brett Weldele stamps and of course some Tim stamps!

Here's my 6 tags for today:

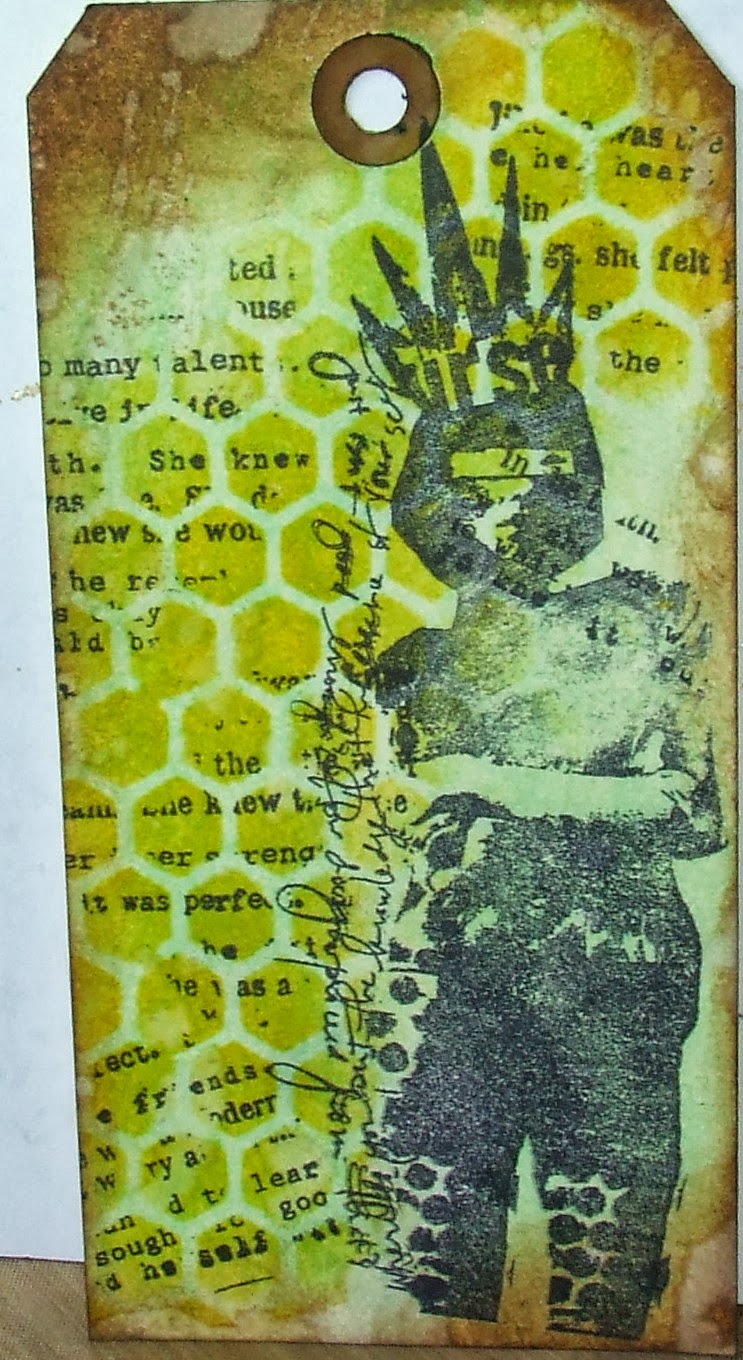
Mixed Media Layering

Embossing with Stencils

Embossing through stencils

Stencil Stamping

Stencil Sketching

Ink Monoprint

Paint Monoprint

Monday, October 7, 2013

Creative Chemistry 102

Remeber back a couple of years ago, I took an online class, Creative Chemistry 101? Well, it's time for Creative Chemistry 102! And it's not too late to join. The only requirement is that you are a CC101 graduate. You can take either class at any time and you have lifetime access to both classes once you've taken them. So what are you waiting for?!

As before, I cannot go into details of how the techniques are done, but I can tell you what the different techniques are called. So here's day one.

All about Distress Paints. So fluid and fun. And so many things you can do with them!


Distress Paint Marbling

Colored Crackle Technique

Altered Surface Technique

Eroded Metallic Technique

Stamping Resist Technique

Industrial Technique

Wednesday, April 11, 2012

Ding, ding, ding, we have a winner!

I was one of 15 fortunate souls to win for either commenting or posting pics during the two weeks of Creative Chemistry 101! Ten won t!m stamps and grid blocks and five won Ranger gift packs. You didn't know what you won until your package arrived at your house. I didn't care which I won. Was grateful that my name was even picked and knew that no matter which I got, I'd certainly use either one!

My package arrived yesterday and I was lucky enough to get the Ranger gift pack. Included was a Ranger scraper, great for mixing inks with Multi Medium or Molding Paste. Broken China Distress Ink Pad, Mini mister, Claudine Hellmuth multi medium sample bottle, Glossy Accents sample bottle, Rock Candy Distress Crackle Paint, Stream Color Wash and Tea Dye Distress Stain. Great prize pack! There were a couple of things that I already have, but it's all consumable, so when I need to replenish, now I won't have to!

Friday, March 30, 2012

Creative Chemistry Day 10

And today it is over. Students are already asking for CC2! Sure hope t!m does decide to do another sometime. I will certainly be signing up if he does. Today was all about the "liquid embellishments". Stickles, Ice Stickles, Distress Stickles, Liquid Pearls, Glossy Accents (MY favorite for over 10 years now!), Enamel Accents, Crackle Accents and the differences in all of them. Seems Distress Crackle Rock Candy is the Prof's favorite because it is clear and you can use it on so many things. I'll tell you a secret. The Rock Candy is meant to be spread with your finger. Put a dab on your Kraft sheet and use your finger to apply it to your project. It is meant to be a thin layer. And unlike all the rest, Rock Candy can be dried using your heat gun. Just keep it moving so it doesn't burn.

 Rock Candy Distress Stickles. Ink water spritzed tag using Distress Satin (Victorian Velvet) and dry. Ink stamp with various colors of Distress Ink (Iced Spruce & Gathered twigs on t!m's Mixed Media stamp set) and stamp tag. Ink edges of tag. Apply Rock Candy Distress Stickles with finger in a thin layer over entire tag. Allow to dry on it's own, or if you're impatient like t!m and I are, use the heat gun!
Sentiment is from Words for Thought. I stamped it on the tag in Archival Black then stamped again in Mustard Yellow Distress Ink and cut out the "finding" and used my stapler to attach it. I also used my white highlighter pen on the "making" to make it stand out a bit more. And you can see in this pic the glossy effect that the Rock Candy gives. It really shows up better in person!

Thursday, March 29, 2012

Creative Chemistry Day 9

Only one day left. :::insert sad face::: I have learned so much these last two weeks. I will truly be sad to see tomorrow come. Today was PERFECT! All about Perfect Pearls Powder and Liquid and what-all can be done with them. I found out I can mix the powder with multi medium and use it as a colorant! I see that on a mixed media piece coming up soon.
 Perfect Distress Mist. Remember the day of the don't gots? And that I only had ONE color of re-inker? Well, I still only gots ONE color of re-inker. Old Paper. We were supposed to mix THREE colors of re-inkers in a mini mister aling with water and three different colors of Perfect Pearls powder. So, if you only gots one re-inker, you mix three different powders with the same color re-inker! So there is no pretty different colors of ink on my tag, but there are some interesting blips and blops of Perfect Pearls! Stamp set is CTMH Love Life (still available, Anita on pg 100!)
 Perfect Distress. Probably my favorite technique today. Use a light color Distress Stain (Spun Sugar) on a wet tag and dry well. Stamp image on tag using Distress Inks in different colors. Apply Perfect Pearls Powder with a brush. Remove extra Pearls using a large dry brush. Mist lightly with water to cause the Distress Inks to run. Dry tag with heat gun. Ink edges of tag with Distress Inks. (which I forgot to do!)
Perfect Splatter Distress. This is kind of a play on the first days tags Wrinkle Free Distress where you smoosh your ink pads on your Kraft sheet and spritz with water then smoosh your tag into the color. Dry and keep smooshing and drying the tag til you achieve the look you want. The only addition to this tag is you flick small bits of Perfect Pearls Powder over the ink before you spritz the water so you get these "puddles" of pearls. The sentiment tag was given to me years ago by a friend. I don't know where she got it, but it pretty much describes me to a "T!!"

Wednesday, March 28, 2012

Creative Chemistry Day 8

Today's class was all about paints and the differences in Paint Dabbers, Claudine Hellmuth Studio Paints and Distress Crackle Paints. Learning new things every day and isn't that what school is all about. Guess the number one question people are asking t!m is "how do I know when my project is dry." Seriously?! So Prof t!m's answer, "if you touch it and it's not wet, it's dry." The man is a GENIUS!!!

 I used the Marble Technique from Day 5 for the tag itself and I like it better than the one I did on Day 5!! And I covered most of it up!! This technique is called Dabber Resist. I used my Copper Paint Dabber and dabbed it on the 3 Gentlemen tag and stamped on Sticky Back Canvas. Dried it well, then sprayed the tag with water and used Wild Honey and Broken China Distress Stains on the canvas.
 Crackle Paint Resist. Used Broken China Distress Crackle paint that I thinned too much with water because it was too thick and it didn't really crack like it should have. Oh well! Carry on! Once it was dry, I used the trees from t!m's mini holidays 2 collection (that I won from the 12 Tags of Christmas!) and stamped the background ones in Vintage Photo Distress Ink and the tall ones in Archival. And I decided I either need to buy Archival re-inker or a new pad. I am not happy with how those trees came out. They need to be "bolder" and more "forward." As it is, they look like they are part of the background.
Shattered Stains Resist. We were supposed to use Rock Candy Distress Crackle Paint for this. Went to grab what I *thought* was my Rock Candy and it's Picket Fence! Whoops!! So Rock Candy is now on my gotta have list! That Necessity Being the Mother of Invention reared IT'S head again, so I pulled out some Crackle Accents and coated my 'Brolly Man that I cut out of GrungePaper with it instead! Once it was dry and crackled, I used Broken China, Dried Marigold, wild Honey and Vintage Photo Distress Stains to color him. I used Weathered Wood, Tumbled Glass and Vintage Photo Distress Inks on my tag and then did the Spritz and Flick technique to mimic rain.

Tuesday, March 27, 2012

Creative Chemistry Day 7

A much happier day today since I gots embossing powders of all sorts and sizes! Today was all about the properties of embossing powders and the differences in Fine Detail, Detail, UTEE and Distress. t!m is a great Prof and I am sorta digging on the online class as opposed to taking the actual class with him at the front of the room teaching because this is more about the whys and where-fors instead of all technique all the time. Not that he doesn't drop some of that info in his "real life" classes, but at the pace you go, there isn't a whole lotta time to delve into the backgrounds behind each. and. every. product. And since the class will be available online to you if you take it forever, if there's ever something that you want to go back and revisit, you can. Great for those of us who's memory isn't what it used to be! I can tell you what I wore to school when I was 8, but don't ask me what I had for breakfast yesterday!! And it's still not too late to sign up! Go here and sign up now! All of today's stamps are CTMH. Not a t!m or Dyan stamp in sight today!!

 Nostalgic Batik Technique. Stamp your image in a bright color of Distress Ink and apply embossing powder and heat. Blend different colors of Distress Ink over entire tag. Where you have embossed will "resist" the ink. Wipe excess ink off embossed images and Spritz and Flick water to complete.
 Rusted Enamel Technique. Using green color pallet Distress Inks, apply direct to paper. I used Tumbled Glass and Iced Spruce. Apply clear embossing powder over entire tag. Flick the back to remove excess powder and use fingers to swipe the edges and center in a random fashion. Heat embossing powder then apply brown color pallet Distress inks over entire tag.
Distress powder Resist Technique. Stamp image in embossing ink or Distress ink. Shake Distress Embossing Powder well and apply generously over image. Heat emboss and allow to cool completely. Rub well to remove release crystals from image. Apply Distress Inks over entire image  and wipe image with a damp cloth to remove excess ink.

Friend Anita asked me what the image was in the above tag. It is a Peacock and it's from the now retired CTMH stamp called Circle of Love. I stamped it on plain white cs so you could get a better idea of what it looks like. You're welcome HRH!!!

Monday, March 26, 2012

Creative Chemistry Day 6

It's another day of the "don't gots" at Sue's! I don't gots Distress Markers and I don't gots Specialty Stamping Paper. But I am muddling through! I used my CTMH markers and while fine for plain old coloring, they are notsomuch for using with water! They don't blend worth a hoot, even on watercolor paper!! Both of my lss' are on back order, as is the rest of the country, for Distress Markers. So eventually I will have them, just not anytime soon.

 Watercolor With Markers. I used some of the images from Dyan Reaveley's Bits of This stamp set. LOVE those bugs! I think you can really tell with this tag that the colors didn't so much blend as they just watered down.
 Blending With Markers. I finally broke down and used the butterfly stamp that t!m has been using so much of here lately! I generally like to march to my own drummer, but I thought I'd try the technique with the CTMH markers and see how it worked compaired to his sample. And it didn't! Again, basically just watered down the color and didn't blend it so well.
Stamping with Markers. This one we were supposed to use the Specialty Stamping Paper with. Ahhh, no gots! So I colored my stamps with my CTMH markers and then "huffed" on them and stamped directly on a manila tag. When you use the Distress Ink with the blending tool directly on the tag, it tends to "muddy" the images jsut like t!m said it would! Hmmm...guess no matter how old you are, teacher is ALWAYS right!!

Friday, March 23, 2012

Creative Chemistry Day 5

Today was all about Distress Stains and sprays and the differences in both. Only makes me want some (OK, ALL!) of the Dylusions Paint Sprays. Waiting patiently on Michelle at Posh Scraps to get her Dyan order in.

Stained Kraft Resist Technique. This tag was done using t!m's Kraft Resist paper pack. We applied Distress Stains to the paper and where the varnish is resists the stain. Flicked water on the paper to leave spots and dried. Then we used the blending tool and Distress Ink pads and applied layers of color. I used the pattern piece of paper and a couple of the stamps from the Haberdashery stamp set using Archival ink.
Stamping with Stains Technique. This one started with a wet tag and then we applied Distress Stains. Dried with the heat gun and misted water on as we dried to create a mottled effect. Then used a stamp  and instead of ink, applied Distress Stain Picket Fence to our stamp and stamped, then quickly dried it. Then stamped an image on top using Archival ink.  
Marbled Stain Technique. This one started with a puddle of Picket Fence on our Kraft sheet. Then sqiggled other colors of Distress Ink around it. Then drag the tag thru the colors for a marbled effect. As you dry the tag, re-dip it into the colors and spritz with water for a more mottled effect. Images stamped in Archival ink.

Thursday, March 22, 2012

Creative Chemistry-Day 4

Well if I'm gonna flunk, today will be the day! We are supposed to have cut-n-dry felt to make our own custom stamp pad for today and I don't have it. Will never use it, so ain't buyin' it! I don't even have something here that I can fake my way thru it, so I only have 2 tags to share today.

Today was all about re-inkers and the various ways you can use them. I own ONE Distress Re-inker...Old Paper. I've had it so long, I don't even remember why I bought it! I don't have an Old Paper Distress Ink Pad, so I didn't buy it to re-ink with. BUT! I have a crap-load of CTMH reinkers, so Necessity Being The Mother Of Invention, I went with what I had! I mixed up Orchid Bouquet, Autumn Terra Cotta and Ocean CTMH re-inkers in mini misters and held my tag over the trash can and sprayed away! I can tell you, and you'll just have to trust me on this, that my left hand is a lovely shade of the three colors and my wrist looks a little like the Statue Of Liberty color with it's greenish tinge! Or should that be patina?! And for my second tag, I smooshed my distress pads on my Kraft sheet and used my waterbrush to pick up the colors with instead of using the re-inkers like we were supposed to. This is the tag that I used my one and only Distress Re-inker on. I went around the outside edge of the watercolor piece and also the entire manila tag with Old Paint Re-inker. So maybe I'll get a D- instead of an F for at least using the one thing I do own for todays class!!

 Layered Misting. Used CTMH re-inkers in Orchid Bouquet, Autumn Terra Cotta and Ocean mixed with water in mini misters and sprayed on tag. Dried, then mixed up Cocoa re-inker in a mini mister and used masks and oversprayed with Cocoa.
Watercoloring with Re-inkers. Stamped image with Pigment ink. Then used Distress Ink pads and smooshed on Kraft sheet. Picked up color with waterbrush and applied to watercolor paper.

Wednesday, March 21, 2012

Creative Chemistry Day 3

Today's class was about mixing the different products and the cool things you can end up with. I did manage to incorporate some of my new Dyan Reaveley images that I finally received in the mail the other day. Stay tuned for more with them! My head is FULL of ideas and I need to let. them. out!

Alcohol Ink Agates. This tag uses alcohol inks and mixatives and blending solution then stamping with Archival ink. I used the Haberdashery stamp set.
Reflections Stamping.  This tag uses Reflections stamps stamped in Archival inks on an embossing folder then stamping other images on top of the Reflections stamps. Embossing the tag and finally coloring with Distress Inks. I used the fancy script from the Reflections stamp set,  CTMH Footloose WOTG stamp set , using the fish, clamshell and starfish and tumbled glass, iced spruce and weathered wood Distress Inks to mimic water.
Archival Resist. This tag uses stamped images in Bright Archival Inks (which I don't have, so I used the "brightest" green I have!) then stamping in a dark color with other inages and coloring with Distress Inks. These are a few of my new Dyan images from Bits of This stamp set and the chicken wire stamp from t!m's Mixed Media stamp set. And I HAD to do the pop of Red Pepper Paint Dabber on her lips! And I'll probably flunk the class for doing that!! ;)